Related articles
Table of contents
Event settings
This article provides a comprehensive explanation of the different settings for events in Oniva, giving users an overview of the available options and how to configure them.

Event settings in Oniva
Event link
The event link directs users straight to the event website and can be customised. Editing is only possible while your event is in "Draft" status, which can be changed in the event dashboard.
Keywords
Keywords help with searching and make it easier to find your event in libraries. They are only relevant if the event is displayed in such a library.
💡 Note: Event libraries can be enabled on the workspace.
Permissions
In this section, admin users can be granted access to the event. Only existing admins can be assigned as event admins. Learn in this article how to activate accounts as admins. If you do not have the required permission yourself, contact your admin or the Oniva support team to grant additional users admin access.
Users without admin permissions can be granted read-only access. They can view the event but cannot make any changes. This role is particularly suitable for speakers or other passive event roles.
Notification subscribers
Here you can add subscribers to the event. They will receive all notifications configured for the event, for example when a guest makes a booking, cancels a booking, or is invited from the waiting list.
Advanced settings
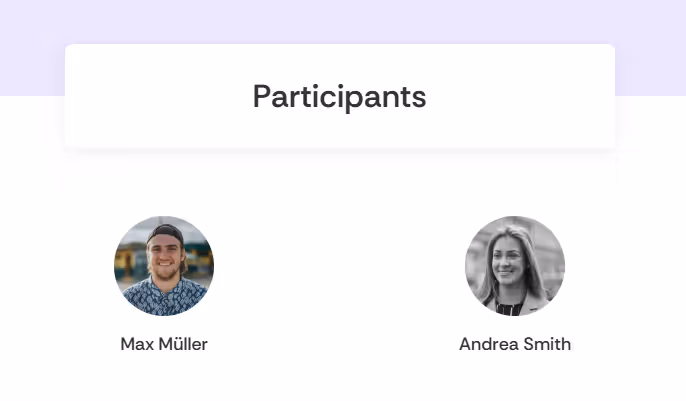
Show guests
This function allows participants to make their attendance visible to others on the event website—provided they consent during registration. You can also enable profile photo uploads by adding a field with the identifier “image” under “Edit Event” → “Authorisation Groups” → “Registration Form.” This enhances networking and adds a personal touch. If guest display is activated, the relevant section will appear on your event website.
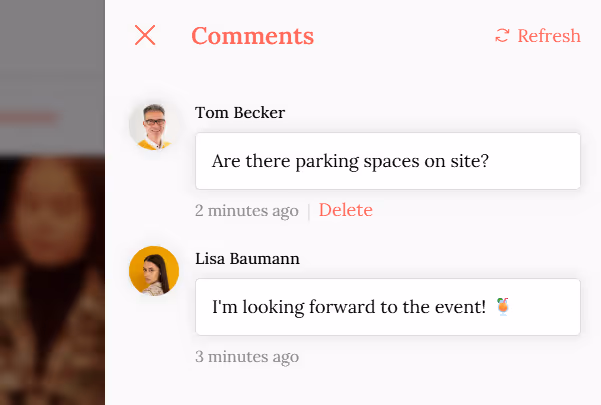
Comments
Logged-in or authenticated guests can leave comments on the event website if this feature is enabled, fostering interaction among participants. Enabling comments adds a button with a flyout menu in the top-right corner of your event website, where guests can leave messages.
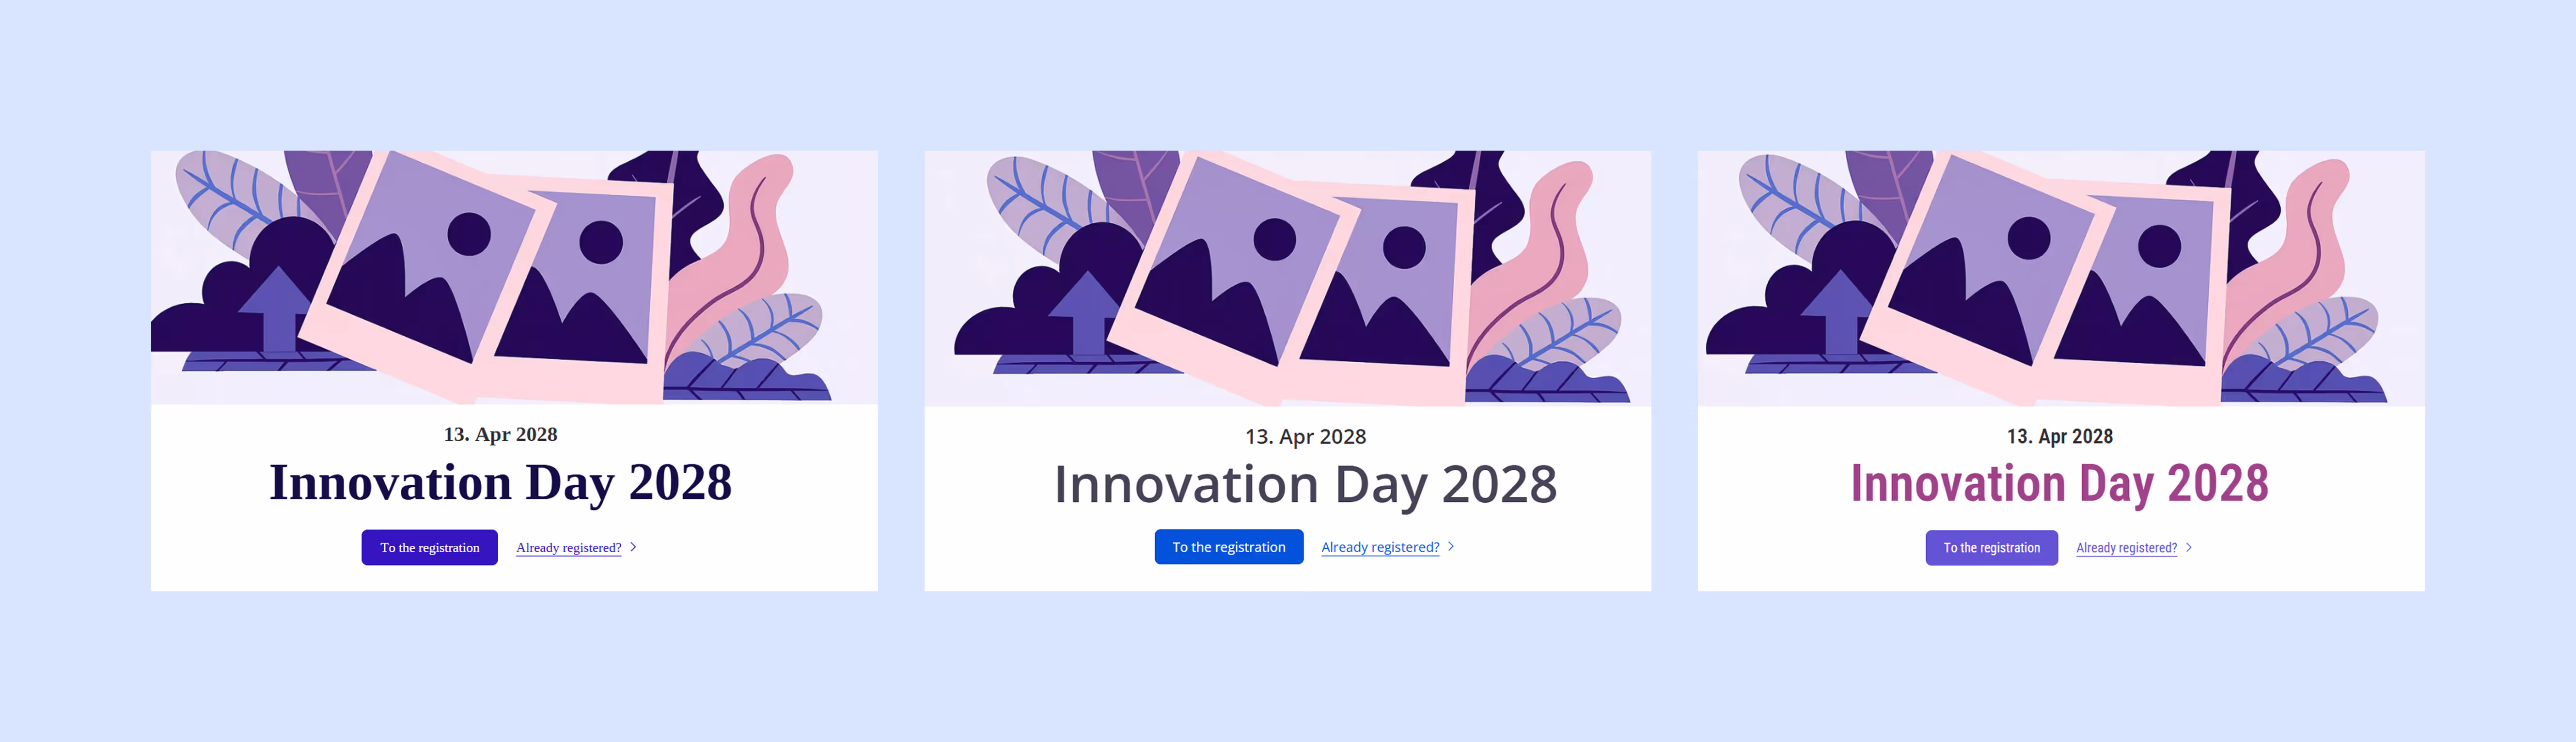
Styling
In this section, you can define the visual branding for your event.
- Main Color: This color determines the appearance of buttons and calls to action on the event website and in campaigns.
- Secondary Color: Used for secondary elements such as banners and headings to complete the design.
- Background Color: Determines the background color for specific sections of the website and in campaigns.
You can set the title image and layout for your event under "Edit Event" → "Event information." Learn more about images in Oniva in this article.
Email template
Here, you set the layout for all event notifications, e.g., booking confirmations. The sender address can be customised in the email settings (see below). The logo is taken from the appearance settings. Notifications themselves can be found in the “Notifications” menu.

Check-in
With the Oniva Check-In app, you can check guests in easily via ticket scan or manually. Multiple devices can be used simultaneously, ensuring full control. For the best experience, enabling e-tickets is recommended; alternatively, the app can function as a digital guest list.
Activate the app directly in the event settings, download it from the App Store or Google Play, and scan the configuration QR code from your event dashboard to get started. Note that scanning e-tickets requires both the check-in function and the e-ticket function (see below) to be enabled.

👉 Article on e-ticket and check-in
E-ticket
You can create either a single e-ticket for the entire booking or separate tickets for each booking option. Tickets can be customised with text or images (e.g., directions or sponsor logos). They are automatically sent with the booking confirmation and can also be sent later via campaigns.
Remember to enable the check-in app if you plan to scan e-tickets with the Oniva Check-In app.

👉 Article on e-ticket and check-in
Badges
You can create personalised PDF badges for each guest, which can be emailed individually or downloaded and printed in bulk. Badges include information such as name, photo, and additional details like access zones, simplifying on-site check-in. They can also be printed “on demand” directly from the check-in app.
Each workspace in Oniva has a default sender email address for sending emails. The reply-to address can be set freely. New sender addresses must be added by the tenant admin in the tenant settings.
Languages
Oniva supports events in German, French, Italian, and English. You can set a default language and provide translations for additional languages. Contacts receive invitations and notifications in their preferred language, including personalised links. When importing contacts, include a column for language to assign each contact correctly. Note that all custom text fields must be translated by the admin.
👉 Article on multilingual events
Payment
For paid events, you can enable different payment methods (online, cash, invoice) and set prices and discounts for specific groups. Payment status is updated automatically or manually. Refunds are also possible.
After enabling payment settings, corresponding prices can be added under booking options. Payment details include:
- Payment identifier: internal cost centre; freely assignable and used to allocate transactions
- Processing fee: a 5% fee applies to transactions processed via Oniva’s payment account. If a 0% fee is mistakenly recorded, any fees are still deducted from revenue.
- Payment method: online payments are processed via the connected provider in Oniva. Cash or invoice payments display the price during booking, but are settled independently by the event manager.
- VAT: standard or custom rates
- Currency: choose from multiple currencies; online payments support EUR and CHF
- Organisation: appears on receipts for online payments (including VAT number); can be set and edited on the workspace
- Price including VAT: defines whether entered prices already include VAT or if VAT is added on top
Promotion
Promotes the event as a "recommended event" in the event library. Promotion is only relevant if the event is displayed in a library.
💡 Note: Event libraries can be enabled on the workspace.
Bookings on request
The “bookings on request” feature allows bookings to initially have the status “requested” and only be confirmed after review and approval by an admin. This lets event managers control which participants are admitted.
Optionally, ticket coordinators can pre-review requests and set them to “pending,” but final approval is always by an admin. Guests are notified of every status change, from request submission to confirmation or rejection.
Time zones
You can set a specific time zone for your event. If it differs from the workspace default, it will be displayed on the event website. Admin users can set their own time zone in their account, so they see all time-related information, such as booking times, in their preferred zone.
Embed registration
With Oniva, you can seamlessly embed the registration for your event into an existing website. Use the code below to embed the registration as an iframe pop-up. Place the code in the <head> section of your website. A sample button, which is inserted into the <body> of your page, serves as the trigger for the pop-up. This integration ensures a smooth registration experience without the need for the page to reload.
Management of events
In addition to basic settings, Oniva offers options to manage events and meet data protection requirements:
Close event
Closing an event prevents further actions such as bookings and check-ins. However, the event remains visible in the Events module and can be accessed if needed.
Archive event
Archiving an event hides all associated contacts and bookings within the event and across workspaces. The event website will no longer be accessible via the original link. Archived events can be reactivated.
Anonymise personal data
Anonymisation permanently deletes personal data such as first and last names, email addresses, and information from the registration form. This feature meets data protection requirements and helps safely remove sensitive data. Please note that anonymised data cannot be restored.
Delete event
Deleting an event removes all data, contacts, and bookings permanently. This action is final and cannot be undone. Ensure no important data is needed before performing this action.