Table of contents
Setting up a new workspace
A well-configured workspace supports efficient event management and ensures consistent branding. Workspaces enable teams to define standards and set up helpful basic configurations. Proper configuration of registration forms, email templates, and permissions simplifies event management and ensures smooth collaboration.

How do I set up a new workspace?
New workspaces can only be created by tenant admins. If you do not have the necessary rights, contact your admin or reach out to Oniva Support. Please note that additional workspaces may incur costs. For premium and enterprise licences, there are no extra charges for additional workspaces.
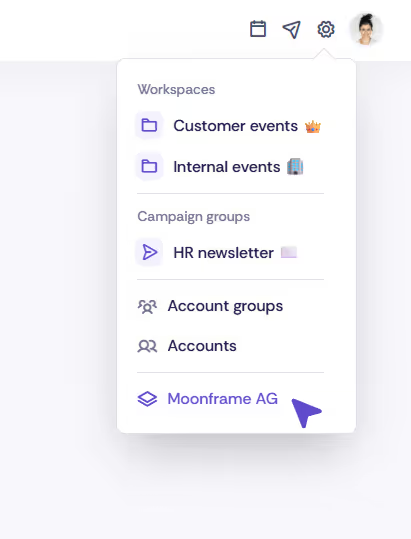
As a tenant admin, you can create workspaces independently. To do this, navigate to the tenant settings and create the new workspace there.
Why should I configure my workspace?
Carefully setting up your workspace saves time and ensures a professional representation of your organisation. When you create new events, they automatically adopt the workspace’s default settings, such as:
- Branding: Consistent colours, logos, and fonts
- Registration forms: Predefined guest settings
- Standard workflows: Unified processes for all events
This structure lets you focus on the essentials: delivering successful events.
Checklist: configuring your workspace
To ensure your workspace functions effectively, configure the following settings. You can adjust these for individual events as needed.
✅️ Upload a title image
Add an appealing title image for your workspace – particularly useful if you use libraries.
✅️ Define branding
Specify the colours, logos, and fonts that represent your workspace.
✅️ Create an email template
Set up a custom email template, including a footer and title image for notifications and campaigns.
✅️ Set the sender address
Enter a team mailbox and the sender address for emails. Note that sender addresses must be approved before they can be used.
✅️Select default language(s)
Choose the languages that should be available by default for your events.
✅️ Enable delivery notes (optional)
Activate delivery notes for bookings, e.g., for sending tickets via post.
✅️ Configure event default settings
Define settings that are automatically applied to all new events in the workspace.
✅️ Set up a standard registration form
Assign a default registration form for events or create new templates under the "Form templates" tab.
✅️ Add a payment identifier (optional)
Enter an identifier to link payments to your workspace.
✅️ Upload file attachments (optional)
Include relevant documents, such as a privacy policyor T&Cs, for use in booking processes.
✅️ Create additional queries (optional)
Configure fields for specific booking-related information, such as internal comments or cost centres, for unique requirements.
✅️ Register your organisation
Add your organisation’s details and VAT number if you plan to host paid events.
✅️ Create categories (optional)
Define categories to better organise events internally or facilitate navigation in a library.
✅️ Add venues (optional)
Enter all relevant event locations and, if necessary, bulk-import multiple venues.
✅️ Upload media (optional)
Include important files like logos or promotional images for use in your events.
✅️ Adjust notifications
Tailor the tone of your notifications to match your organisation’s communication style (e.g., formal or informal).
✅️ Create subpages (optional)
Develop custom pages, such as terms and conditions, if your workspace uses libraries.