
Invitation to a company party: Templates & text blocks for every occasion

Anna Fredholm
June 19, 2026
•
4
min

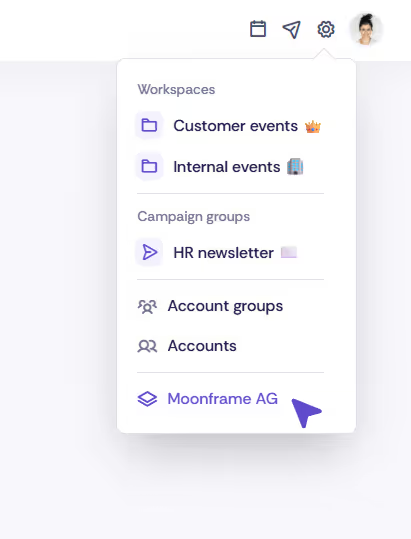
The tenant settings in Oniva allow admins with the appropriate permissions to centrally manage the organisation account. Both technical configurations—such as mail servers or API integrations—and organisation-wide standards such as logos, branding, form templates or notifications can be defined here. Workspaces, campaign groups, organisations, categories, locations and media can be managed centrally and inherited by subordinate areas, while individual customisations remain possible.

Using the tenant settings, admins with the appropriate permissions can manage the organisation account in Oniva. For all licence tiers—except the Enterprise licence with a dedicated instance—the tenant settings represent the highest configuration level and should only be assigned to selected admins.
At tenant level, both technical settings (such as a custom mail server or API integrations) and organisation-wide standards (e.g. logo, branding, privacy policy or forms) can be defined.
If multiple teams work with Oniva and each team has its own workspace, central elements such as branding, specific media or categories can be defined via the tenant settings. These elements are inherited by all workspaces but can be overridden individually. Workspaces that have already been customised are not affected by changes at platform level.
The tenant dashboard provides tenant admins with a comprehensive overview of all activities within the application and allows them to see current licence usage at a glance.
Technically sensitive basic settings such as workspace keys, custom domains and access rights per workspace can be defined here—only tenant admins have permission to do so. Less critical configurations, such as default settings or branding, can be managed by workspace admins directly within their workspace. New workspaces can also be created here, provided the licence tier allows additional workspaces.
If your organisation’s licence supports event-independent campaign groups, they can be created here. Most settings are defined directly within the campaign group by campaign admins. Contact the Oniva support team if your organisation is interested in campaign groups.
In the Organisations section, you can record relevant organisations, which can then be used:
Organisations can also be created at workspace level.
Using overarching categories, events can be categorised independently of the workspace and displayed in the global event library. These categories are available in event libraries for navigation and filtering.
In the venues section, general locations can be stored. If you want to manage multiple locations, you can do so via the import function. This simplifies event configuration and ensures data quality.
Here you can store general images and other media, such as logos, attachments and mood images. This simplifies the creation of events using standardised image files.
Notifications can be configured here and are automatically sent when events are booked, cancelled or triggered by other actions. They can be customised at both workspace and event level. See the article on notifications.
Form templates are predefined groups of form fields for registration forms & additional queries, deregistrations or accompanying persons. They can be used across all events so that standard fields do not need to be recreated for each event.
App tokens must be created in order to use the Oniva API and serve as the authentication mechanism. See Getting started with the Oniva API.
Custom domains for events can be set up in Oniva. These domains can then be linked to a workspace. See How to: Set up a custom domain for your workspace.
Email sender addresses for sending emails such as event invitations and newsletters can be defined here. The address must be authorised for sending via the mail server configured in the settings, which is usually done through at least one SPF record for the relevant domain. See How To: Set up your own email sender address for sending event communications.
The export logs provide a historical overview of all export activities on the platform. They show who exported which data and allow potential data leaks to be traced.
Different profile types can be created using account types, for example for employees or members. Accounts currently sign in using a username and password. Any number of different account types can be created.
Coming soon: Single Sign-On (SSO) using OpenID Connect or SAML.
Using the settings, both default settings and technical configurations for the tenant can be defined.
The tenant settings are the highest configuration level in Oniva. They include technical settings such as custom mail servers or API integrations, as well as organisation-wide standards such as branding, logo, privacy policy, and form templates. Settings defined at tenant level are inherited by all workspaces but can be overridden individually.
Discover exciting articles about creating unforgettable events.

