
Invitation to a company party: Templates & text blocks for every occasion

Anna Fredholm
June 19, 2026
•
4
min

Badges create a professional impression, make check-in easier, and can contain important information. In this article, you’ll learn how to activate, configure and print badges in Oniva – whether automatically, in advance, or directly at the event.
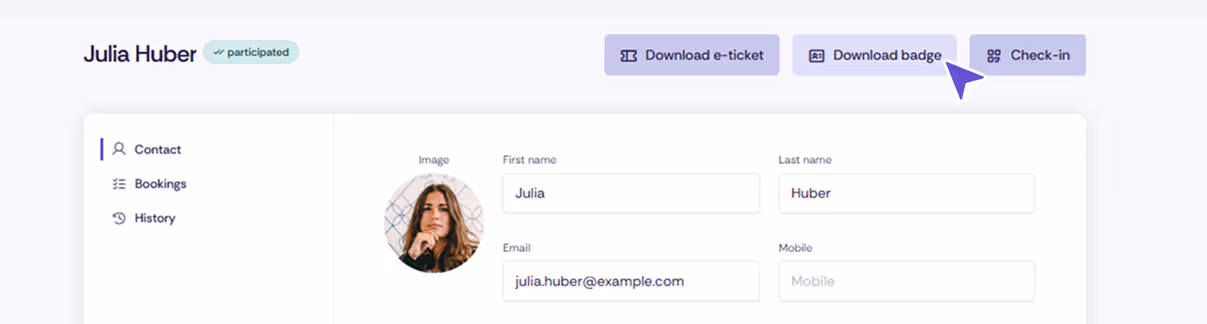
Badges can either be sent automatically with the booking confirmation (Print@Home badge) or downloaded by the admin and used on-site.
Activation is managed in the event settings. Decide in advance if and when you want to use badges (e.g. pre-produced or only at check-in).
The following information can be displayed on a badge:
badge_info (e.g. access zones, table numbers)The check-in QR code can be used to check in guests via the Check-In App. If guests print their badge at home or receive it by post, the e-ticket can be completely replaced by the QR code on the badge. Additionally, the QR code can be useful if guests need to be scanned multiple times during the event (e.g. for workshops, VIP areas, etc.). Thanks to the session check-in function, it can be directly validated whether a guest is authorised to enter. See check-In for sessions.
You can choose whether your badge is printed single- or double-sided. No duplex printer is needed, as all three badge formats are folded in the middle. With single-sided printing, the back remains free and can be used in various ways – for example, pre-printed with an agenda or additional information, or stickers can be attached.
👉 Note: For the data from the form to appear, they must be linked to the correct identifier. Data can be added by the guest, the admin, or via import. Admin data can be hidden from guests if required.
💡 Tip: Import badge information
1. Download the guest list via event contacts
2. Add a column for additional information (e.g. access zones, table numbers)
3. Re-upload the file with Update contacts and link it with the fieldbadge_info
This way, you can manage information centrally without guests being able to change it themselves.
➡️ See also How to: Adding information (seat number, access zones etc.) to a booking retroactively.
All formats are based on A4 paper:
The A6 and A7 formats are created by folding an A4 sheet. The self-adhesive badge requires special paper where the lower part can be peeled off like a sticker and then folded together. This paper is available from various suppliers. An overview can be found under the following link:
👉 Name badge 97x86 mm with Euro perforation
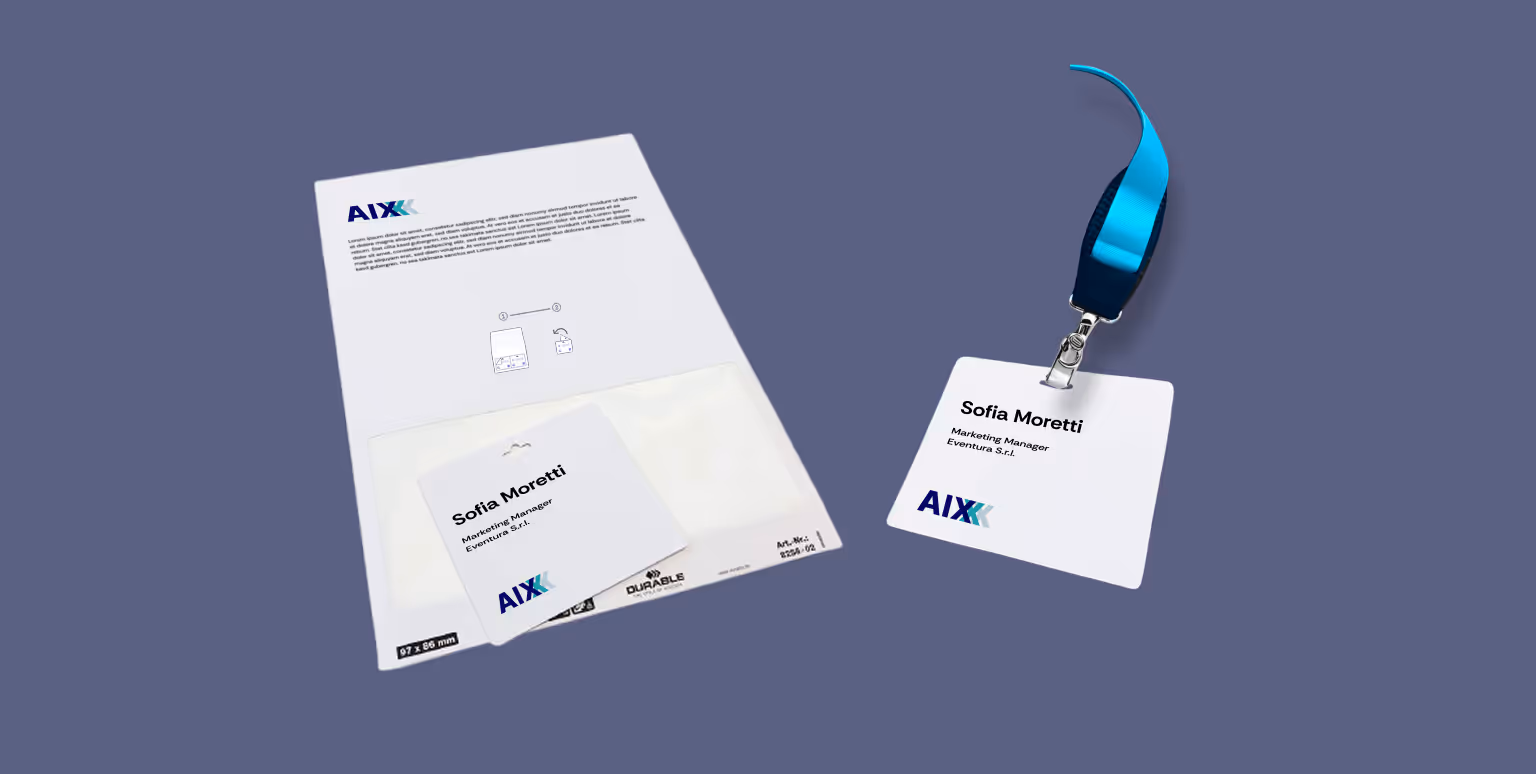
For A6 badges, use soft PVC holders in portrait format; for A7 badges, holders in landscape format. Self-adhesive badges do not require a holder. For all formats, it’s recommended to plan for lanyards or clips for attachment.
Badges are automatically sent with the booking confirmation. Guests bring their own badge with them.
👉 Note: Not all guests will print their badges. Keep a printer on-site for reprints.

Badges can be downloaded in bulk and printed before the event:
💡 Tip: Print multiple PDFs at once
Windows: Select PDFs → Right click → Show more options → Print
Mac: Select PDFs → Cmd + P
After downloading, you can print badges in advance and prepare them in holders for the event. However, note that finding the right badge can take extra time at large events with many guests.

The most eco-friendly method: badges are only printed when scanning the e-ticket.

Make sure the printer has a fast output speed (at least 20 pages/minute) and a short time to first page (< 10 sec).
Wi-Fi enabled laser printers are required to send print jobs directly from a smartphone. Examples:
👉 Important: Only laser printing is suitable for badge paper.
💡 Tip: To estimate how many badges can be produced per minute, test the process in advance. Time the interval between scanning with the Check-In App, sending the print job, and the actual printout. Use this to calculate the required entry time and the number of check-in stations needed on-site.
💡 Tip: In iOS, a default printer can be set directly in the Oniva Check-In App. Go to Settings → Configure printer and save your chosen printer. Once set, you won’t need to select a printer manually when printing badges. On Android devices, this function is currently not available.

Regardless of the printing method, it’s advisable to set up a help desk for late registrations, errors, missing printouts, or forgotten badges. At the help desk, an Oniva admin can adjust bookings or create new ones and immediately print the corresponding badges via the contact in the admin area.
If badges are enabled, each accompanying person automatically receives a badge as well. This is printed together with the main contact’s badge. Ensure that all necessary fields for the badge are also included in the accompanying person form.
Yes. The Print@Home Badge option sends the badge automatically with the booking confirmation, so that guests can print it themselves before the event. Alternatively, badges can be downloaded by the admin and distributed on site.
Badges can contain the following information: guest name, organisation, job title, badge info (e.g. access zones or table numbers), photo, event logo, folding instructions for the badge type, and a check-in QR code. The QR code can be scanned using the check-in app and fully replaces the e-ticket.
Discover exciting articles about creating unforgettable events.

