
Oniva receives Top Rated award from OMR Reviews

Anna Fredholm
October 2, 2026
•
3
min


This page shows you how to check guests in quickly and correctly using the Oniva check-in app. The most important steps and notes are summarised here in a compact format.
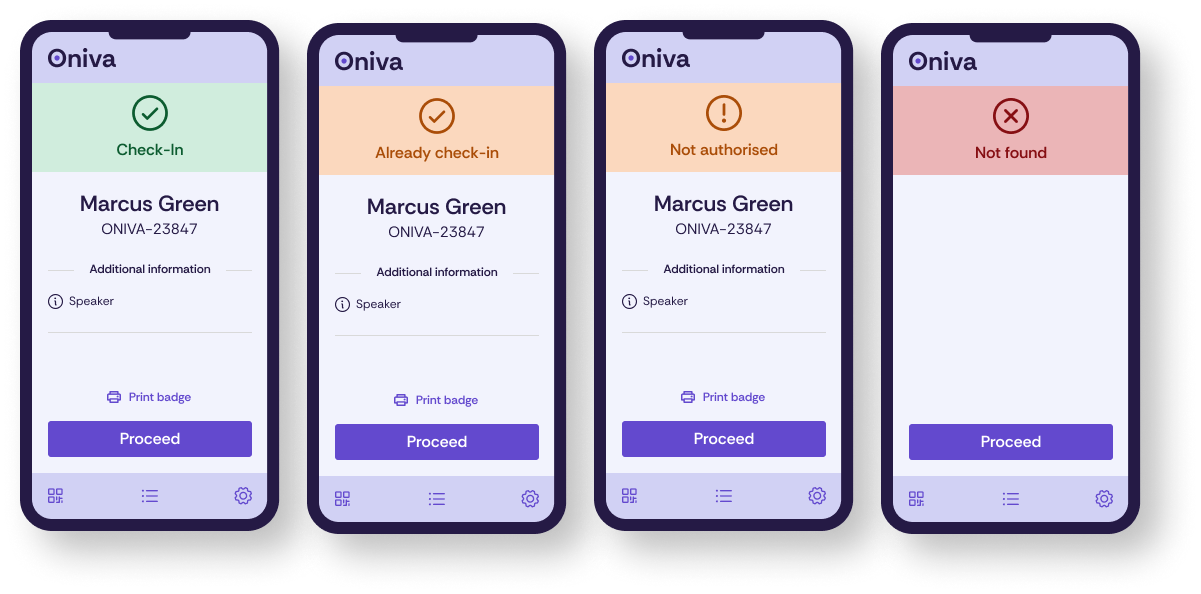
👉 Tip: Have you received this guide to carry out check-in, but you don't have access to the Oniva admin area? Then skip the next section and jump straight to "Logging in to the Oniva check-in app".
Activate the check-in app in your event's settings. While doing so, decide whether you want to transfer guest data to the check-in app.
⚠️ Important: Without guest data, the guest list feature (see below) cannot be used.
Decide whether you want to scan e-tickets. If you're not using tickets, you can instead check guests in manually via the guest list, using a checkbox. For events with more than 80 attendees, or limited time for entry, we recommend working with e-tickets.
f you want to work with e-tickets, first decide whether you want to issue one ticket per booking or one ticket per booking option.
In concrete terms, this means:
Your guests need to receive their e-ticket. If you only activated e-tickets shortly before the event, you should plan a campaign to send the tickets to your guests. Even if guests already received the e-ticket with their booking confirmation, it's advisable to deliver it again.
See also: How to: send e-tickets
Decide whether and how your guests should receive badges or name badges.
If you're working with pre-printed name badges, it can make sense to set a registration deadline and print the badges afterwards. For a seamless, ad hoc process, you can also print event badges directly from the check-in app when scanning e-tickets.
See the article on badges for details.
Once everything is configured, you can install the check-in app on your device.
To open your event in the check-in app, select "Set up check-in app" under event details in the event dashboard.

👉 Tip: People who are only carrying out check-in don't need an Oniva admin account. You can simply give them the login QR code.
To do this, take a screenshot of the QR code and send it to the relevant people via a channel of your choice. It's best to also let them know straight away which booking options they should check guests in for (see the next section), and to send them the link to this article.
You should either have access to the login QR code via the Oniva dashboard (see the previous section), or have received it from your event team.
Set up the check-in app on your device
👉 Note Depending on which booking options you want to check guests in for, the app needs to be configured accordingly. If guests are to be checked in for all booking options, you can keep the default setting. If check-in is only required for a specific booking option, the other options can be deactivated.
The booking options can be adjusted at any time in the app settings. If you're unsure which options should be activated, contact your event team.
The app is divided into three areas:
During entry, you'll generally stay on the Scan tab.
Hold the camera up to the ticket's QR code. The app immediately shows you the result:
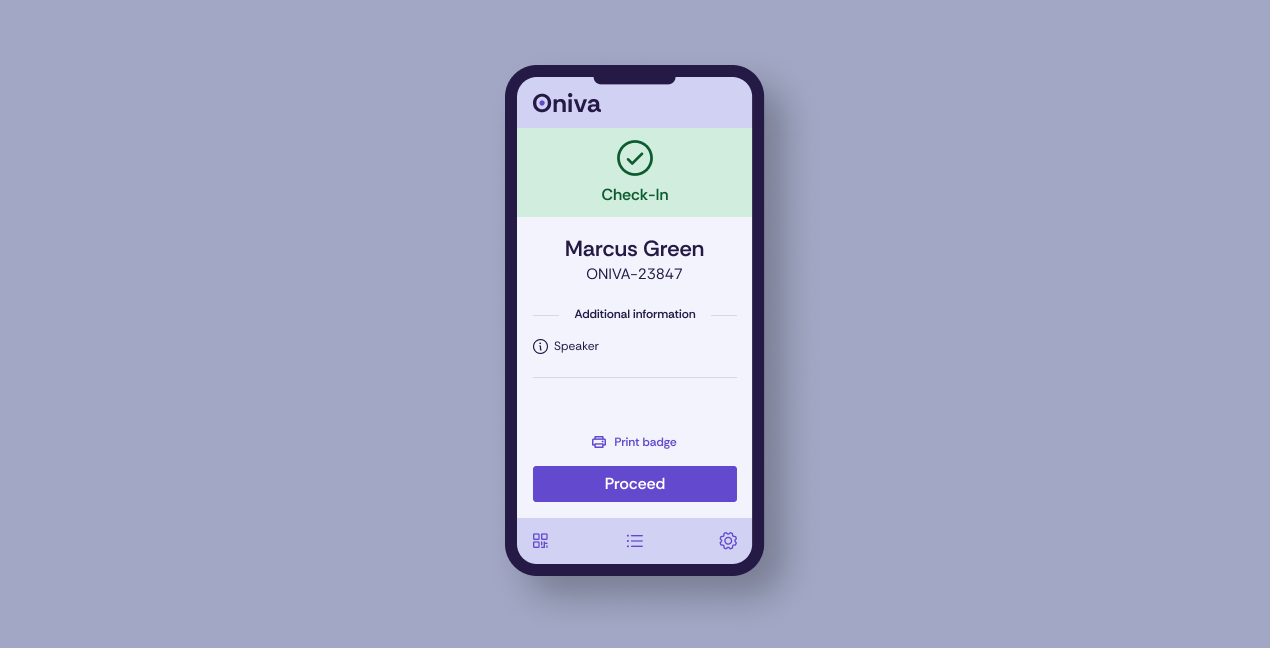
The ticket is valid and the person is authorised. The person may enter.
💡 Tip: Look out for notes on the screen (e.g. special information about the person).
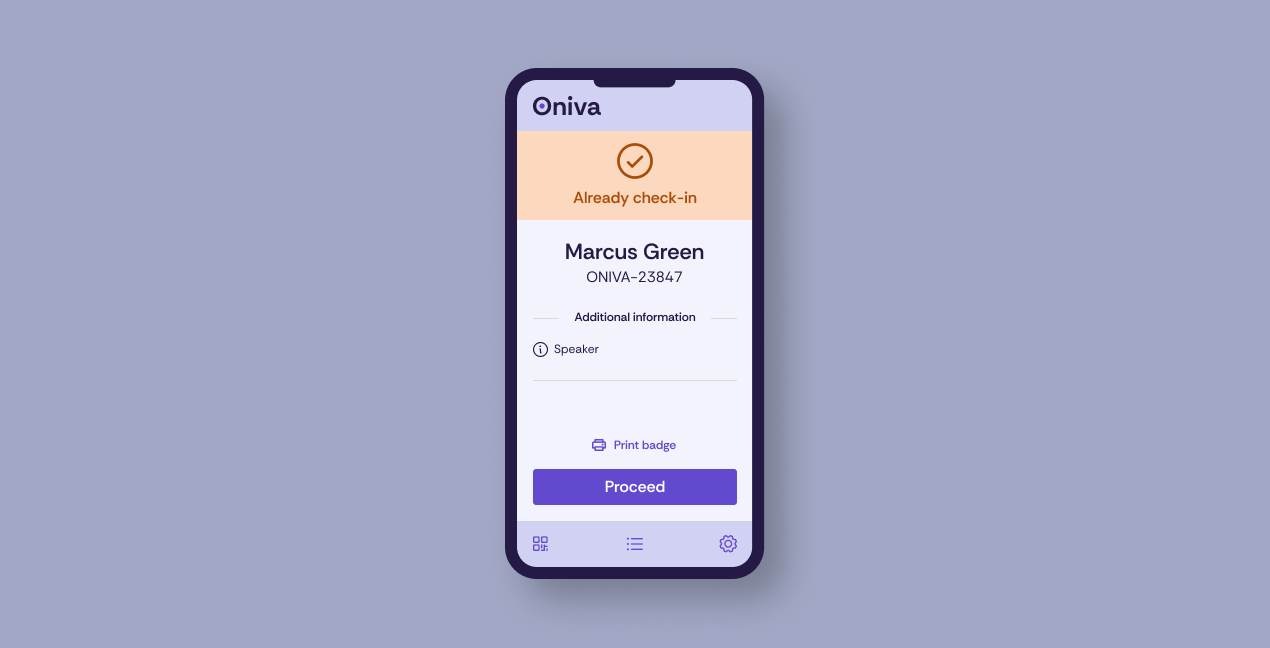
The ticket is valid but has already been scanned.
👉 Note: It can happen that the same ticket is accidentally scanned twice in a row, because it was still in view when "Continue" was clicked. In the Oniva admin area, you can check exactly when a guest was already checked in. If in doubt, quickly clarify any unclear cases with the event team.
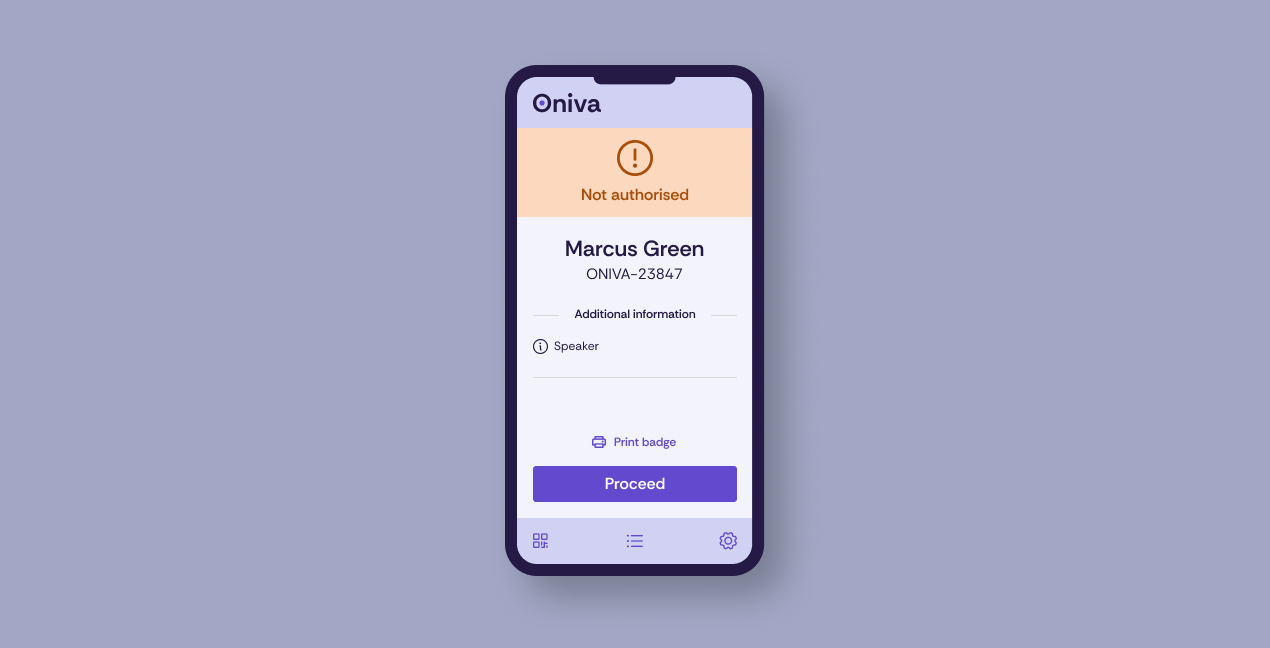
The ticket is valid, but not for this area (e.g. a different workshop or slot – see the note in the "Set booking options" section).
→ Direct the person to the correct area.
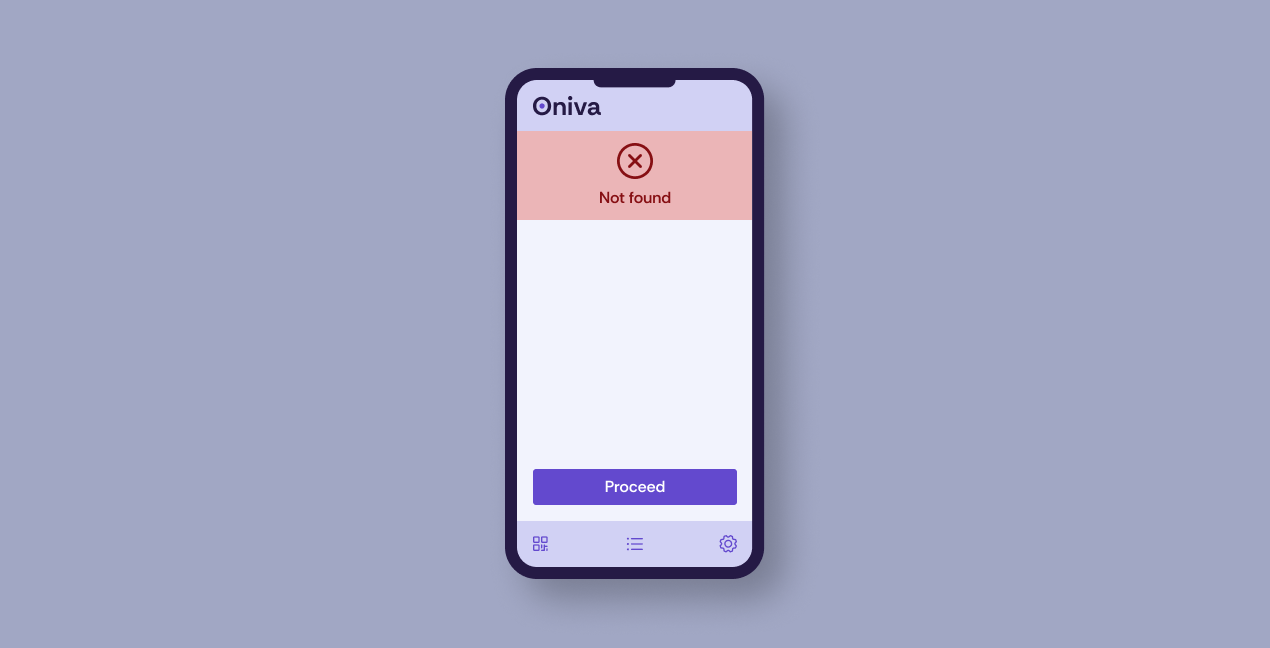
The ticket is not valid.
Possible reasons:
→ Always refer the person to the event team.
👉 Important: You can only check in valid tickets. The event team handles all other cases.
If someone can't find their ticket:
If the guest list is missing, it hasn't been released – contact the event team.
In the "Settings" tab, you can:
Check synchronisation
👉 Important: Only works with an internet connection.
Set booking options
👉 If the wrong option is scanned, the orange exclamation mark appears.
Each device has its own local guest list. This means:
👉 Important: Check synchronisation during quiet moments, and make sure everything is synchronised at the end.
Having problems with the check-in app? These tips will help you solve common issues yourself.
No, it's not possible to check in for multiple events at the same time with Oniva. If you're running several Oniva events at the same location, set up a separate check-in station (or queue) for each event and keep them clearly separated visually – for example, with a dedicated entrance for staff. Tickets from another event will automatically be shown as invalid.
Discover exciting articles about creating unforgettable events.