What is single sign-on (SSO)?
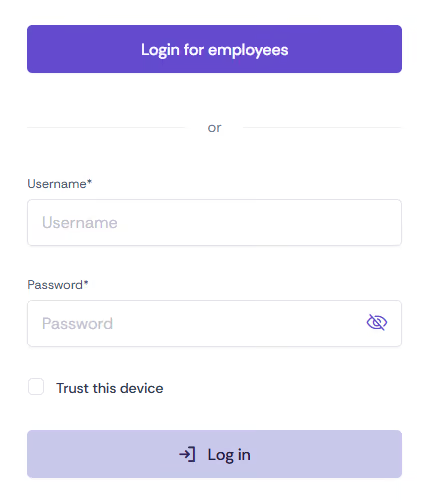
With single sign-on (SSO), login to the Oniva platform takes place via a central identity provider such as Microsoft, Google or Okta – instead of a separate Oniva password. SSO login can be enabled for both admins and guests, and enables central, secure management of all accounts.
Advantages over username/password
- ✅ Central user management
- ✅ Accounts can be blocked centrally
- ✅ No additional password needed for Oniva
- ✅ Increased security through existing security policies (e.g. MFA)
- ✅ Less support effort for password resets
👉 Do you only need SSO for some of your users? Account types let you enable SSO for specific groups, while others continue to log in the classic way via username/password.
Setting up SSO
Prerequisites
- Tenant admin rights
- The API feature must be enabled on the licence
If the feature is not yet available, it can be enabled by the Oniva support team
1. Enable SSO
SSO with OpenID Connect (OIDC)
- Navigiere to the tenant settings
- Search for the "Single sign-on (SSO)" setting and enable it
- Once enabled, the following details can be entered:
- Discovery URL: the OIDC metadata endpoint of the identity provider, through which Oniva automatically determines the required endpoints (authorisation, token, userinfo); found in the provider's dashboard under the domain/issuer URL, with
/.well-known/openid-configuration appended - Client ID: the unique identifier of the application at the identity provider, needed to authenticate Oniva with the provider; found in the application/client settings of the identity provider
- Client secret: a secret password for the application, used together with the client ID to securely authenticate Oniva with the identity provider; found in the application/client settings of the identity provider (usually only shown once, or revealed via an eye icon)
- Scope: defines which user information is requested during login (identity, profile data, email address); this is not looked up at the identity provider, but entered as a default value in the Oniva form
- Account identifier claim: specifies which field from the token is used to uniquely identify the user;
sub is the standard claim for the immutable user ID at virtually every OIDC provider and does not need to be looked up separately
- Enter the callback URL in the SSO tool (identity provider)
- If available, the login hint can also be sent to the IdP. This property is passed on to the Identity Provider so that it can pre-fill the login form. This means that a user does not have to enter their email address twice during the login process.
Also make sure that:
- The scope includes at least
openid and email - The email address is transmitted in the token or assertion
💡 Tip: You'll find the callback URL directly in the Oniva SSO configuration form. It must be entered at the identity provider exactly – including the path, and without differing trailing slashes – so that the redirect works after login.
SSO with SAML 2.0
- Once enabled, the following details can be entered:
- IdP metadata: metadata from the identity provider that Oniva uses to automatically determine the required information (single sign-on URL, signing certificate, entity ID); can be provided either as a metadata URL or as an XML file; found in the provider's dashboard, usually labelled "metadata URL" or as a download link for the IdP metadata
- Account name attribute: specifies which attribute from the SAML assertion is used to uniquely identify the user; set in the identity provider's attribute mapping and usually mapped to the email address
- Enter the entity ID and the ACS URL (Assertion Consumer Service URL) of the service provider with the identity provider. Both are shown to you in the Oniva SSO configuration form.
- The entity ID can also be accessed directly as the service provider's metadata URL, or entered with the identity provider
- Also download the SP certificate and enter it with the identity provider, if it requires a service provider certificate for signature verification
- If available, the login hint can also be sent to the IdP. This property is passed on to the Identity Provider so that it can pre-fill the login form. This means that a user does not have to enter their email address twice during the login process.
Also make sure that:
- The email address is transmitted as an attribute in the SAML assertion
- The SP certificate and the ACS URL are entered exactly and correctly with the identity provider
💡 Tip: You'll find the entity ID and the ACS URL directly in the Oniva SSO configuration form. Both must be entered with the identity provider exactly — including the path and without any deviating trailing slashes — for the redirect after login to work.
2. Create an account type with SSO
- Navigiere to the tenant settings → account types
- Open account types
- Create a new account type or edit an existing one
- Under authentication, select:
- SAML (coming soon); or
- OpenID Connect (OIDC)
3. Create accounts
- Switch to accounts
- Create new accounts (manually or via import)
- Assign the previously created SSO account type
- Use the email address as the account name
🔐 Note: Only accounts with an SSO account type can log in via SSO. Accounts with a classic account type remain accessible via username/password.
4. Test the login
- Log in with a test account
- Check whether the redirect to the identity provider works
- Confirm a successful login
5. Clean up old login methods (optional)
- Delete old accounts without SSO
- Remove account types without SSO that are no longer needed
This ensures that login takes place exclusively via SSO.
Framework conditions
Supported protocols: SAML 2.0 (coming soon) and OpenID Connect (OIDC)
Scope: SSO can be enabled separately per account type. This allows different access routes for admins and guests to be combined.
🔐 Data protection note
When using SSO, authentication data is exchanged with your identity provider. Make sure that the configuration (in particular the client secret or X.509 certificate) is kept secure and not shared with third parties. If in doubt, we recommend coordinating the setup with your IT department.