Oniva REST API
Learn how to use the Oniva REST API to access event data programmatically – for example, for custom integrations, reporting, or automated workflows.
What is the REST API?
The Oniva REST API allows you to access data in Oniva from external systems – without using the user interface. It is designed for developers who want to integrate Oniva into existing systems or build their own applications on top of it.
Unlike webhooks, which send data automatically when an event occurs, the REST API lets you retrieve data on demand – whenever you need it.
What can you do with the API?
The REST API gives you access to the following areas:
Events
- Retrieve individual events (incl. options, status, date, and location)
- List and filter all events within a tenant – e.g. by status, time period, or workspace
Bookings
- Retrieve bookings for an event
- Retrieve individual bookings with contact details, payment information, and booked options
- Filter bookings – e.g. by status, email address, or time period
User information
- Retrieve information about the authenticated API client
What can you use the API for?
The API enables targeted connections between Oniva and other systems. Typical use cases include:
Custom reporting and analytics: Booking data can be retrieved periodically and transferred to your own analytics or reporting tool – without any manual exports.
Example: Oniva → REST API → Python script → Excel / Power BI
Custom integrations: If a third-party system needs booking or event data, it can retrieve this directly via the API. This allows for tailored connections that go beyond standard webhooks.
Data synchronisation: Data from Oniva can be fetched regularly and synchronised with other systems – e.g. CRMs, membership databases, or internal tools.
💡 Tip: For real-time notifications on bookings or check-ins, webhooks are the better fit. The REST API is ideal when you need to retrieve data on demand.
Setting up the API
Requirements
- Tenant admin rights
- The API feature must be enabled on your licence
If the feature is not yet available, it can be activated by the Oniva support team.
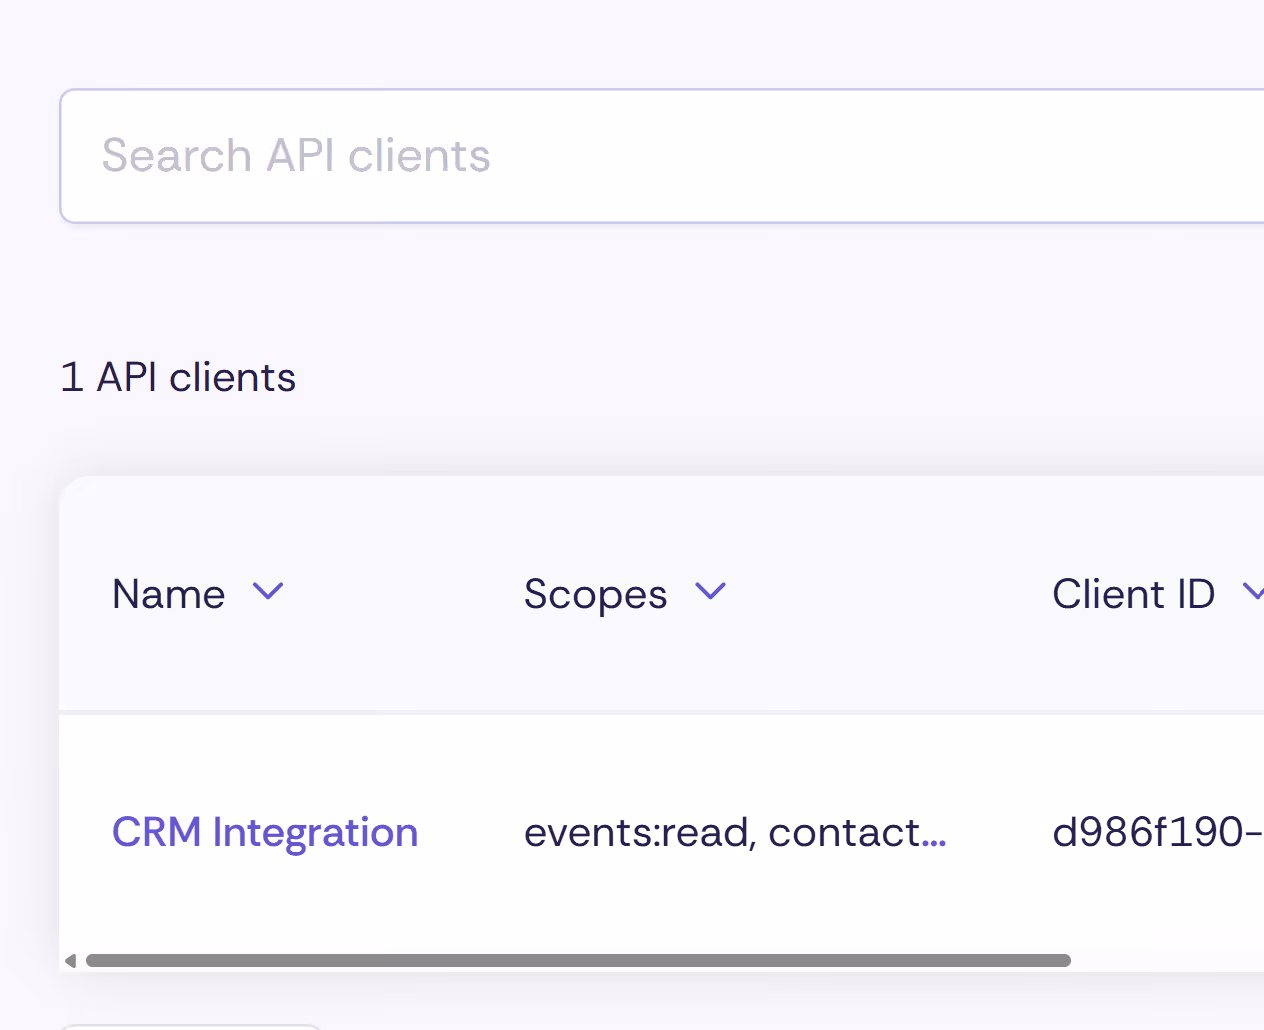
API-Client anlegen
- Navigate to tenant settings → API Clients
- Create a new API clientOnce created, you will receive:
- Client ID – your unique identifier
- Client Secret – your secret password (displayed only once – save it immediately
- Use the Client ID and Client Secret to authenticate with the API
⚠️ Important: The Client Secret is only displayed once after creation. Make sure you store it in a secure location straight away.
Authentication
The API uses OAuth 2.0 Client Credentials. This means you exchange your Client ID and Client Secret for a time-limited access token (Bearer Token), which you include with every API request.
Tokens are valid for 1 hour. After that, a new one must be requested.
Accessing the API documentation
The full technical documentation – including all available endpoints, parameters, and example requests – can be found directly in your Oniva account at:
/admin/de/apidocs
You can also try out endpoints directly in your browser there.
Usage limits and technical details
Rate limiting: The API allows a maximum of 300 requests per minute (per OAuth client). Authentication endpoints are limited to 20 requests per minute per IP address. If you exceed these limits, you will receive an error message indicating how long to wait before retrying.
Pagination: List queries (e.g. all bookings for an event) are returned in pages. By default, 10 entries are returned per request, with a maximum of 100.
API version: The API is currently in beta. Breaking changes are possible. We recommend checking your integrations regularly for compatibility.
🔐 Data protection notice
When using the REST API, event and attendee data is transferred to external systems. Please ensure that the receiving system meets the applicable data protection requirements and that data is processed securely.
In particular, check whether the target system complies with Swiss and European data protection regulations. As the operator of the target system, you are responsible for ensuring that any further processing of the data is carried out in a compliant manner. If in doubt, we recommend discussing the integration with your data protection officer or IT department.